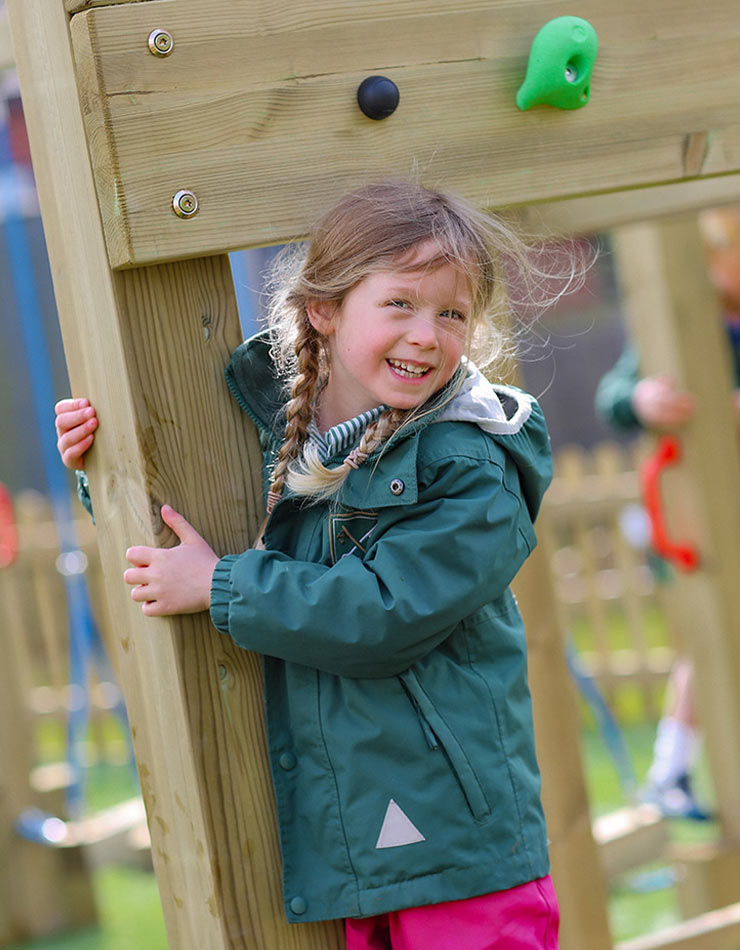
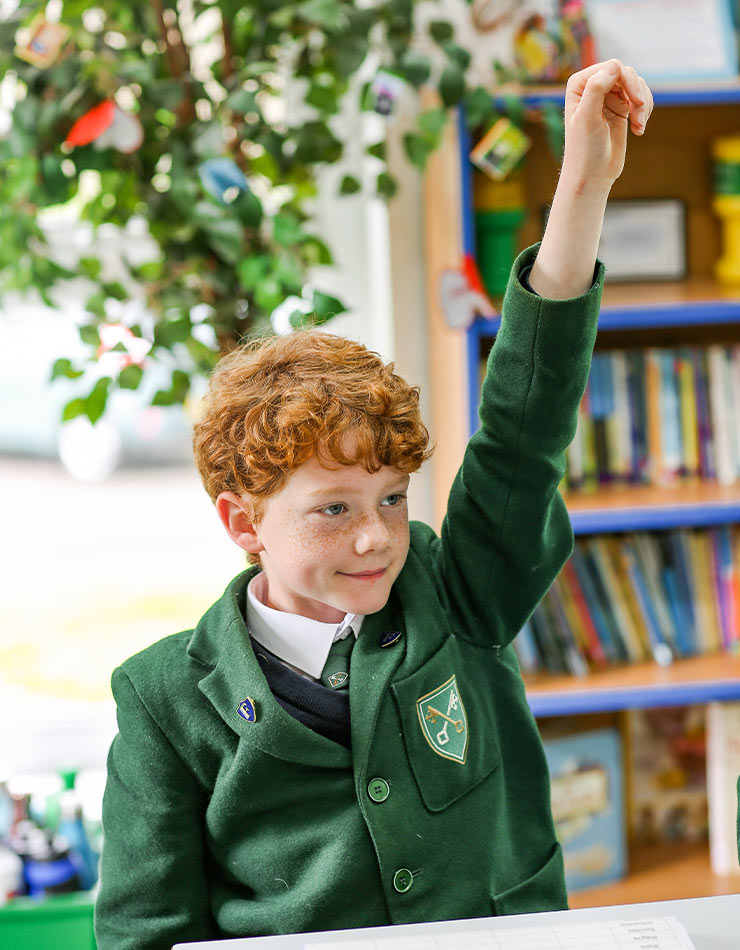


Have you got a budding scientist on your hands? At our independent school in Devon, we’re passionate about nurturing young minds and fostering a love for science from an early age. We follow a wonderful science curriculum that emphasises hands-on learning and exploration. And what better way to get hands-on and stuck into a new subject than with some fun experiments you can do with everyday household items?
Follow our guide to discover a list of easy, fun (and safe) science experiments for children from reception to year 8 to try at home. These experiments are not only educational but also incredibly entertaining, resulting in a joyous adventure for young scientists!

Why is Science Important in Primary Education?
Learning about science cultivates curiosity and encourages children to embrace their innately curious natures, allowing them to ask questions and think about things in new ways.
At its core, science is all about discovery. Learning about science in school helps children develop the skills they need to make new connections and understand more complex concepts.
Science encourages an investigative approach, helping children learn how to create solutions to problems methodically yet with creativity.
Science education can also promote the development of other important skills, including improving teamwork and communication.
How to Encourage Your Child to Like Science in School
So, how can you encourage your child to get excited about their science lessons?
- Engage your child in conversations about scientific topics. This could include asking questions about their favourite animal, the night sky or any other area they’ve shown an interest in.
- Encourage them not to become overwhelmed by certain scientific topics and instead to view them as something to explore and learn about continuously.
- Go on trips to museums; natural history and science museums are often interactive and provide loads of fun! We recommend Bristol’s Science Centre – ‘We The Curious’ – located on the harbourside, for a fun and educational family day out.
- Keep up with recent scientific discoveries together. This can help your child feel more involved and encourage a sustained interest.
- Do safe and exciting science experiments at home to help your child conceptualise concepts they’re learning about at school, as well as pique their curiosity and develop their analytical mind.

Safety Disclaimer
In order to keep your child safe at home, we encourage you to supervise them and make sure you wear the appropriate safety equipment, such as goggles, a mask and gloves, so they can stay safe (and feel like a proper scientist)!
Here are six fun and easy experiments you can do with your child at home, to keep them excited to learn more.

1. Make a Volcano
This classic experiment is a great visual way to introduce your child to themes of geology and geography.
Start by creating a card cone and securing it around a plastic bottle, leaving the opening unobstructed. You can decorate the card to look like a real volcano with paints or markers. You could also create your volcano out of sand with the bottle to pour your ‘lava’ into still in the middle.
In a bowl, mix one tablespoon of bicarbonate of soda with one tablespoon of washing-up liquid. Pour this mixture into the bottle.
Mix half a cup of vinegar with a drop of red or orange food colouring. When you’re ready to see your volcanic eruption, pour this into your bottle. Your ‘lava’ will then erupt out of the bottle and down the side of your volcano!
2. Make Invisible Ink
Kids are bound to have loads of fun writing their very own secret messages while learning about oxidisation. All you need is lemon juice, a cotton swab, white paper and a heat source like a hairdryer.
Add the lemon juice to a small bowl and use the cotton swab like a pen to write your message with the juice onto your paper. Wait for the juice to dry so you can no longer see it.
When you are ready to see the invisible message, hold the paper up to a heat source to reveal what’s been written.
Other liquids can be used in the same way, so experiment with different things to see which makes the best invisible ink!
3. Chromatography Flowers
Chromatography is the process of separating a mixture into its different components; like the different colours used in pens and markers. To see this concept come to life, draw a design on a coffee filter or paper towel with various coloured pens.
Prepare a small cup of water and fold your filter or paper into it so the middle dips into the water.
The different pigments will travel up the filter flower with the water, separating at different levels, creating interesting patterns and displaying all the pigments that went into creating the marker colour.

4. Homemade Crystals
If your child is a fan of all things sparkly, this is one for them! As the crystals can take a few weeks to grow, this experiment offers a great opportunity for children to hypothesise about what will happen over time.
Here, you will need to set aside two jars and fill one with hot water. Stir in tablespoons of alum (you can find this in most supermarkets) until it stops dissolving. Cover the jar to keep dirt out and leave overnight.
The next day you should see crystals forming at the bottom of the jar. Pour the alum water into your other jar and retrieve the biggest crystal.
Tie this crystal to string or wire and hang into the second jar, now full of the alum water. Now you can sit back and watch your crystal grow over the coming weeks.
5. Rainbow Milk Swirls
For this colourful experiment, you’ll need various food colourings (the more, the better), washing-up liquid, cotton buds, a shallow dish and full-fat milk.
First, pour some milk into the shallow dish (just enough to cover the bottom). Then, add a few drops of each food colouring to the milk. Finally, dip your cotton bud into some washing-up liquid, then gently dip your cotton bud into any colourful droplet of your choice and watch the magic happen!
6. Glow in the Dark Magnetic Slime
To make glow-in-the-dark magnetic slime, you’ll need: PVA glue, water, baking soda, food colouring, contact lens solution, iron filings, and a bowl.
Start by mixing half a cup of water, half a cup of clear or white PVA glue (we recommend Elmer’s School Glue), half a teaspoon of baking soda, and eight drops of food colouring (of your choice) in a bowl.
Next, add one tablespoon of contact lens solution and stir until the consistency turns into slime! Take the slime out of the bowl and mix it with your hands. It may be sticky, but keep massaging and mixing for a couple of minutes until it’s no longer sticking to your fingers.
The slime can bounce, stretch, ooze, and snap! Now that you have your slime, add two tablespoons of iron filings to the slime. Fold the slime over the iron filings again and again, until it’s all mixed through.
Use a neodymium magnet and watch the slime swallow it; just make sure you supervise your child as these magnets can be small and an adult must be present to prevent any injuries or swallowing of the magnet.
Lastly, if you want to make your slime glow in the dark, simply add glow-in-the-dark power and watch it glow with the lights off.
You’re sure to have great fun investigating these activities and experiments!
If you would like to find out more about the educational opportunities we offer here at St Peter’s Prep, request a prospectus today.